In today’s digital age, computers are central to both personal and professional activities. With consistent use, they accumulate dust, grime, and other debris, which can hamper performance and reduce their lifespan. Regular cleaning of a computer not only ensures optimal performance but also helps maintain a healthy workspace. This article will cover effective computer cleaning methods for both internal and external components, provide step-by-step instructions, and offer tips on the best tools for each job.
Why Cleaning Your Computer is Important
A clean computer is a happy computer. Dust and debris can cause hardware to overheat by clogging fans and ventilation systems, which can lead to performance issues and hardware failures. Additionally, keyboards, screens, and other external surfaces accumulate bacteria and oil from daily use, impacting both hygiene and visual clarity.
Regular cleaning can:
- Prevent Overheating: Dust buildup restricts airflow, causing internal components to overheat, which could result in slower performance or permanent damage.
- Improve Longevity: Proper maintenance ensures that your computer components remain in good condition over the years.
- Enhance Hygiene: Reducing the buildup of germs on external components, especially keyboards, which are known to harbor bacteria.
- Boost Performance: A cleaner system runs faster and more efficiently, avoiding the drag caused by dirty components.
Tools Required for Cleaning
To clean your computer effectively, gather the following tools:
- Microfiber Cloth: Ideal for wiping down screens and surfaces without causing scratches.
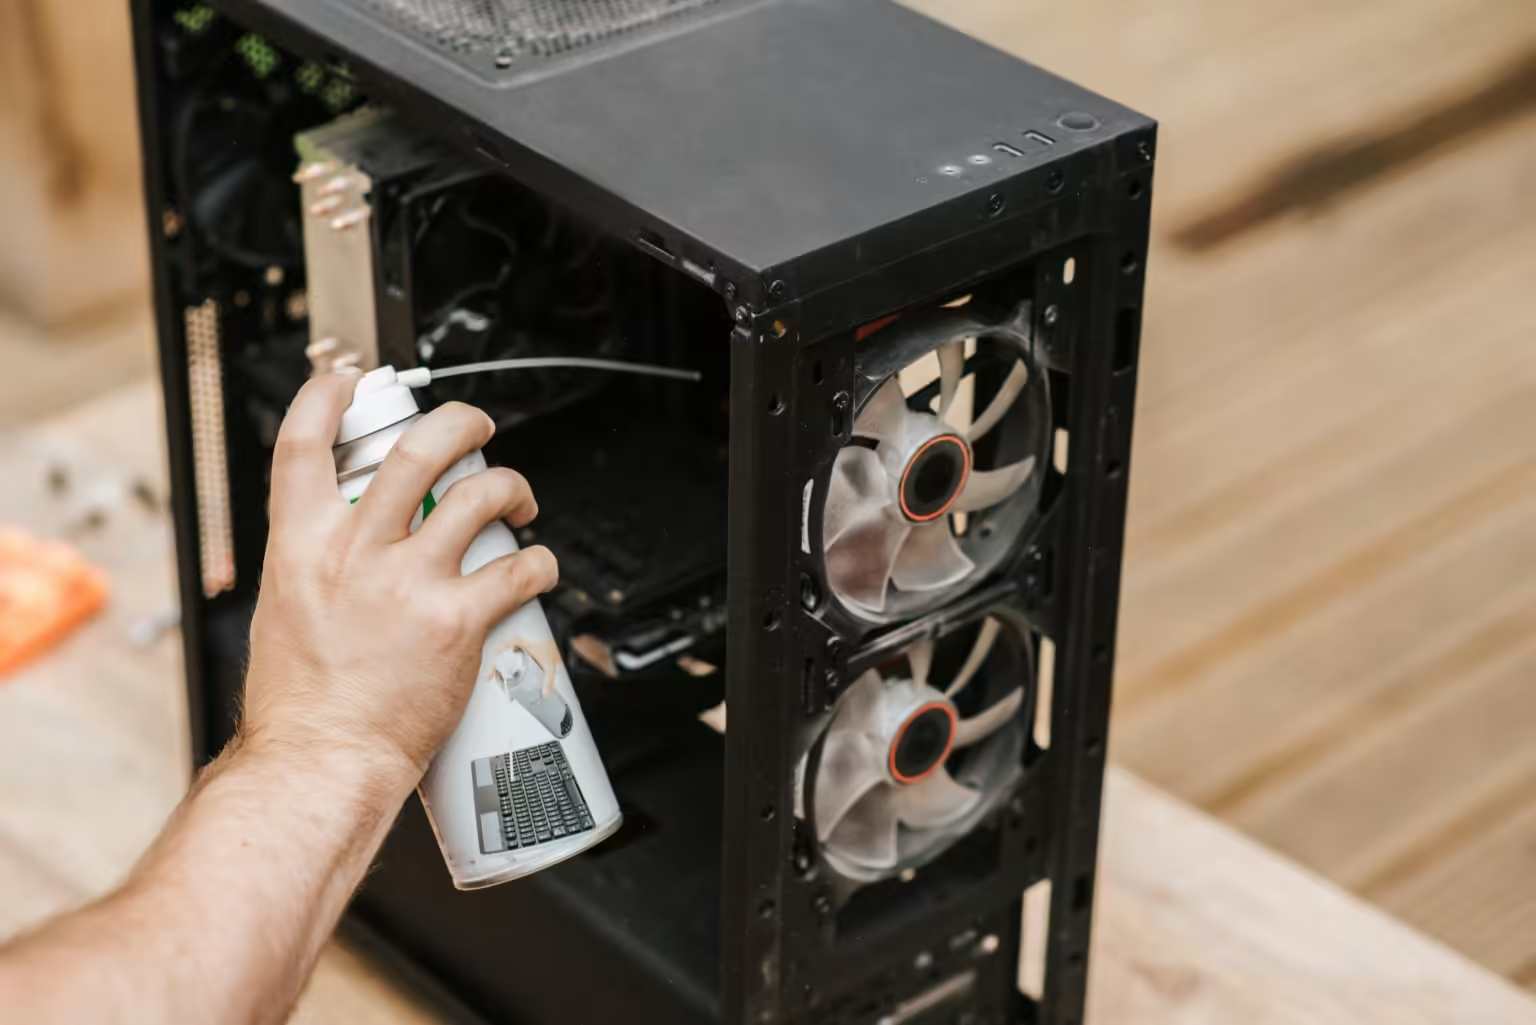
- Compressed Air Canister: Used to blow dust out of hard-to-reach areas, such as between keyboard keys and inside vents.
- Isopropyl Alcohol (90% or Higher): Effective for cleaning and disinfecting without causing water damage.
- Soft-Bristle Brush: Helps remove dust from areas that compressed air may miss.
- Cotton Swabs: Useful for cleaning tight spaces and delicate areas like ports.
- Screwdriver Set: Allows access to internal components in desktop computers.
- Anti-Static Wrist Strap: Protects sensitive components from electrostatic discharge.
Cleaning the External Components
- Monitor/Screen
- Turn Off and Unplug: Always turn off your computer and unplug the monitor before cleaning the screen.
- Dust First: Use a dry microfiber cloth to gently wipe away loose dust and smudges.
- Apply Cleaning Solution (If Necessary): For stubborn smudges, dampen a microfiber cloth with a 50/50 solution of water and isopropyl alcohol, then gently wipe the screen.
- Avoid Harsh Chemicals: Never use harsh cleaners like ammonia or acetone, as they can damage screen coatings.
- Don’t Spray Directly: Always apply the cleaning solution to the cloth rather than spraying directly onto the screen to avoid liquid seeping into the edges.
- Keyboard
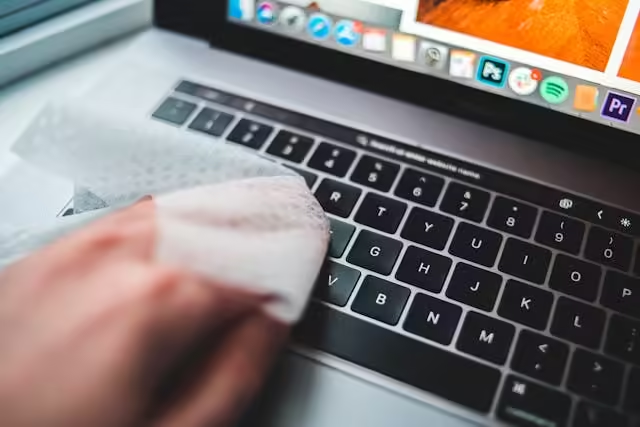
- Turn Off and Unplug: For laptops, shut down the device. For desktops, unplug the keyboard.
- Remove Loose Debris: Turn the keyboard upside down and gently shake it to dislodge crumbs and other loose debris.
- Compressed Air: Use short bursts of compressed air to blow out dust from between the keys. Aim the nozzle at different angles to reach all crevices.
- Clean with Alcohol: Dip a cotton swab in isopropyl alcohol and clean around each keycap. For a more thorough clean, use a soft cloth slightly dampened with alcohol and wipe the keycaps.
- Deep Cleaning (Optional): If your keyboard is particularly dirty, you may need to remove the keycaps with a keycap puller (if they’re removable). Clean each keycap individually, then let them dry before reassembling.
- Mouse
- Turn Off and Disconnect: Ensure your mouse is turned off or disconnected.
- Remove Dust and Dirt: Use a microfiber cloth to wipe down the mouse’s exterior. For crevices, use a soft-bristle brush.
- Clean the Sensor: Dip a cotton swab in isopropyl alcohol and gently clean the sensor on the underside of the mouse to ensure smooth tracking.
- Mousepad: Don’t forget to clean the mousepad, as it can accumulate dirt and oil. Use a damp cloth and mild soap for fabric pads, and wipe down hard-surface pads with alcohol.
- Ports and Ventilation
- Compressed Air: Use compressed air to blow dust out of ports and vents. Short bursts prevent moisture buildup.
- Soft-Bristle Brush: If dust is caked around the ports, use a soft brush to gently dislodge it.
- Avoid Poking: Never stick anything metal into the ports or vents, as this could damage internal components.

Cleaning Internal Components
Note: Cleaning inside your computer requires caution, as sensitive components are susceptible to static electricity. Wear an anti-static wrist strap and avoid touching internal parts directly if possible.
- Preparation
- Shut Down and Unplug: Turn off the computer, unplug it from the power source, and disconnect any peripherals.
- Open the Case: Use a screwdriver to open the case of your desktop computer. For laptops, check the user manual for specific instructions.
- Anti-Static Strap: Attach the anti-static strap to prevent static electricity from damaging components.
- Fans and Heatsinks
- Hold the Fan: Hold the fan blades in place with your fingers or a soft tool. This prevents the fan from spinning, which can damage it during cleaning.
- Compressed Air: Use compressed air to blow out dust from the fans and heatsinks. Short bursts from multiple angles will help dislodge dust.
- Brush for Heatsinks: Use a soft brush to carefully clean the heatsink fins, as they are often difficult to reach with air alone.
- Internal Dust Removal
- Power Supply Unit (PSU): Use compressed air to clean dust out of the PSU vents. Avoid opening the PSU, as it contains high-voltage components.
- Motherboard and GPU: Use a light burst of compressed air to clean the motherboard and GPU. Hold the can upright and avoid tipping it to prevent moisture from reaching components.
- RAM and Hard Drives: Lightly dust around these components. Avoid removing RAM or hard drives unless necessary, as reinserting them incorrectly can cause issues.
- Final Steps
- Check for Any Loose Dust: Make sure all areas are clear of dust and debris before closing the case.
- Reassemble: Reattach any panels or screws and reconnect your peripherals.
Additional Tips for Maintenance
- Regular Cleaning Schedule: Aim to clean the external components monthly and internal components every 3-6 months.
- Optimal Environment: Keep your computer in a cool, dry room with minimal dust. Avoid eating near the computer to minimize debris.
- Monitor Temperature: Use software to monitor your computer’s temperature. High temperatures can be an early sign of dust buildup.
- Invest in Dust Covers: Dust covers for keyboards and laptops are inexpensive ways to prevent buildup.
Software Cleaning
In addition to physical cleaning, software maintenance also keeps your computer running smoothly:
- Clear Cache and Temporary Files: Regularly delete unnecessary files using tools like Disk Cleanup or third-party software.
- Manage Startup Programs: Disable unnecessary startup programs to improve boot times and free up system resources.
- Regularly Update: Keeping your operating system and software up-to-date ensures the latest security and performance improvements.
Conclusion
Cleaning your computer is essential for preserving its lifespan and performance. By following the right methods and using proper tools, you can ensure that your device remains in excellent condition. Routine physical cleaning, combined with occasional software maintenance, creates an efficient, dependable, and hygienic workstation.


