Have you ever accidentally deleted your important file from your Windows PC? Don’t worry, it’s a common mistake that can happen to anyone. But the good news is, there are multiple ways to help you retrieve your files before they’re lost forever. In this simple guide, we’ll walk you through the process of recovering deleted files using built-in tools within Windows, as well as additional user-friendly data recovery solutions.
So there are several methods that you can try
Check your Recycle Bin

The first place to look for deleted files is always Recycle Bin. When you delete a file on Windows, it’s typically moved to the Recycle Bin rather than being permanently erased from your computer. So check your Recycle Bin. To check the Recycle Bin follow below steps:
- Double-click on the Recycle Bin icon on your desktop.
- Search for the file you want to recover.
- Right-click on the file and select “Restore” to move it back to its original location.

Search for your particular file here if there are many files in Recycle Bin use search bar on top right of window.

Right click on deleted file in Recycle Bin and simply click restore. File will be then restored in same folder from where its got deleted previously.
Using Windows File Recovery for deleted files
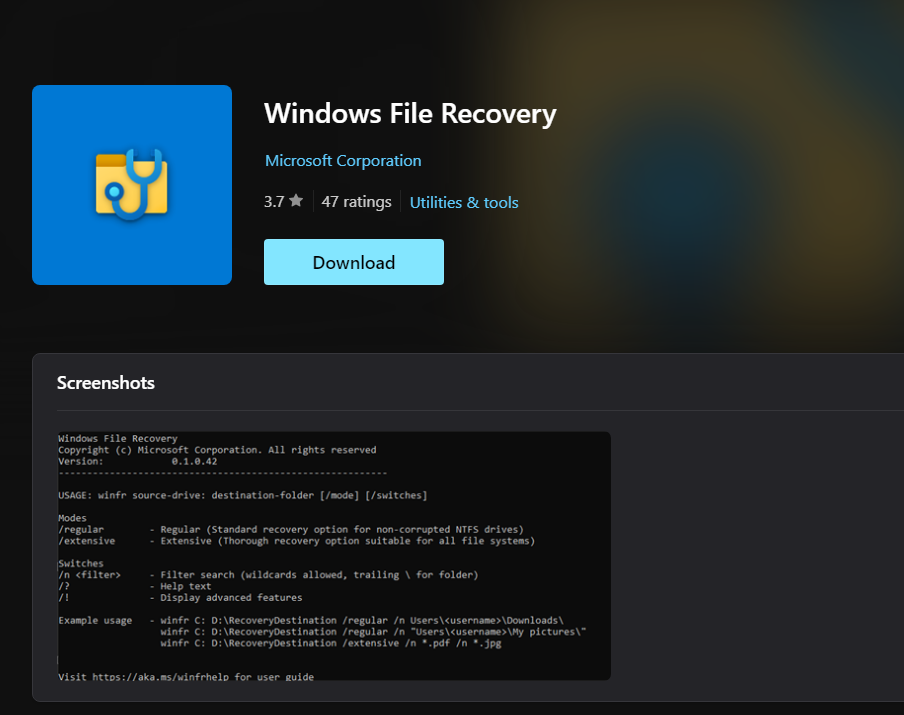
If you are unable to get your files from previous method you can perform this step. Windows File Recovery tool which is a command line app available from the Microsoft Store. Using this app you can recover lost files that are deleted from your local storage device including internal drives, external drives, and USB devices. Although if your files are deleted from cloud location then restoring is not supported with this tool.
Below are the steps to perform in this case.
a) Download, Install and launch the app from Microsoft Store.
b) Press the Windows key, enter Windows File Recovery in the search box, and then select Windows File Recovery.
c) When you are prompted to allow the app to make changes to your device, select Yes.
d) In the Command Prompt window, enter the command in the following format:
winfr source-drive: destination-drive: [/mode] [/switches]
e) There are 2 basic modes you can use to recover files: Regular and Extensive.
Regular mode examples
Recover your Documents folder from your C: drive to the recovery folder on an E: drive. Don’t forget the backslash (\) at the end of the folder.
Winfr C: E: /regular /n \Users\<username>\Documents\
Recover PDF and Word files from your C: drive to the recovery folder on an E: drive.
Winfr C: E: /regular /n *.pdf /n *.docx
Extensive mode examples
Recover any file with the string “invoice” in the filename by using wildcard characters.
Winfr E: C: /extensive /n *invoice*
Recover jpeg and png photos from your Pictures folder to the recovery folder on an E: drive.
Winfr C: E: /extensive /n \Users\<username>\Pictures\*.JPEG /n\Users\<username>\Pictures\*.PNG
The source and destination drives must be different. When recovering from the operating system drive (often C: ), use the /n <filter> switches to specify the user files or folder.
Microsoft automatically creates a recovery folder for you called, Recovery_<date and time> on the destination drive.
f) When you are prompted for confirmation to continue, enter Y to start the recovery operation. Depending on the size of your source drive, this may take a while. To stop the recovery process, press Ctrl + C.
Restoring from File History
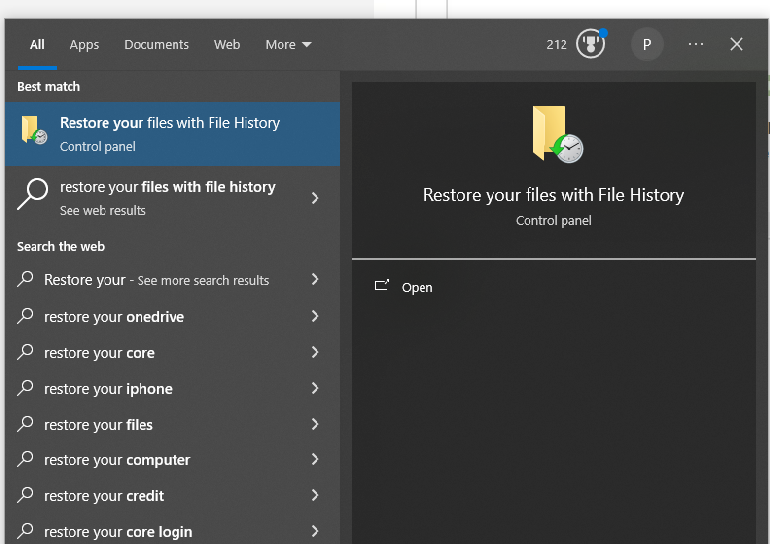
Search for Restore your files with File History in windows search from taskbar.
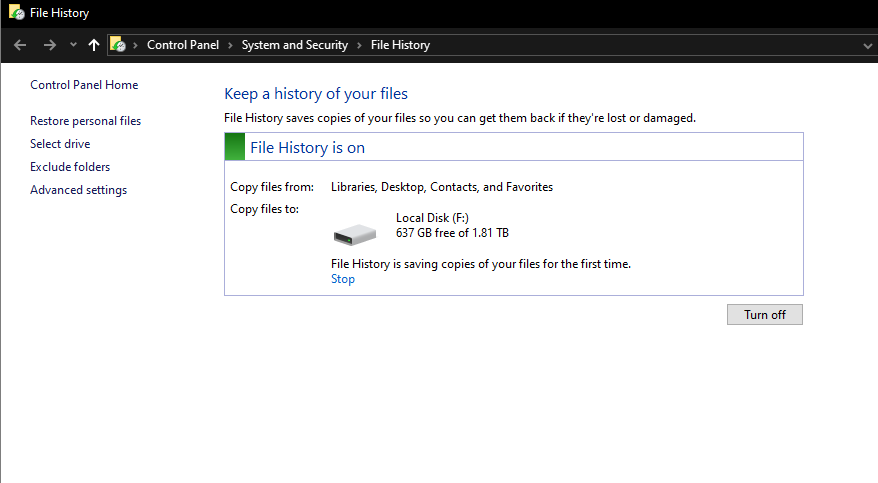
You can turn on/off your file history so if it is turned off you can turn on here and vice versa.
If you can’t find the deleted file in the Recycle Bin, you may be able to restore it using File History. File History is a built-in feature in Windows that automatically backs up your files to an external drive or network location. Here’s how to use it:
- Type “File History” in the search bar and select “Restore your files with File History” from the results.
- Look for the folder that contained the deleted file.
- Navigate through the different versions of the folder until you find the one that contains the file you want to recover.
- Select the file and click on the “Restore” button to bring it back to its original location.
Try Data Recovery Software
If neither the Recycle Bin nor File History has helped you recover your deleted files, you may need to use data recovery software. There are many third-party tools available that specialize in recovering deleted files on Windows. Some popular options include Recuva, EaseUS Data Recovery Wizard, and Stellar Data Recovery.
Here’s how to use data recovery software to recover data, we will see method using Recuva
Recover Files with Recuva
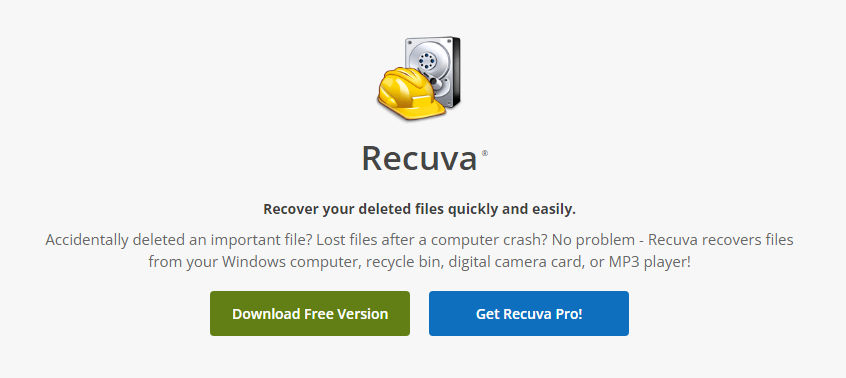
Go to Piriform website and Click Download Free Version.
Here are the basic steps to use Recuva to recover deleted files:
1) Download and Install Recuva: Start by downloading and installing Recuva from the official website.
2) Follow the installation instructions provided.Launch Recuva: After installation, launch the Recuva application.
Select File Type and Location: Recuva will prompt you to select the type of files you want to recover (e.g., pictures, documents, videos) and the location where they were stored before deletion (e.g., specific folder, entire drive).
Start the Scan: Click on the “Start” button to begin the scanning process. Recuva will scan the selected location for deleted files.Wait for the Scan to Complete: The scanning process may take some time depending on the size of the drive and the number of files. Be patient and let Recuva complete the scan.
Review Scan Results: Once the scan is complete, Recuva will display a list of recoverable files. You can use the filter options to narrow down the results if needed.
Select Files for Recovery: Browse through the list of recoverable files and select the ones you want to recover by checking the boxes next to them.
Recover Selected Files: After selecting the files, click on the “Recover” button. Recuva will prompt you to choose a destination folder where the recovered files will be saved. Select a suitable location and click “OK” to start the recovery process.
Wait for Recovery to Complete: Recuva will recover the selected files and save them to the specified destination folder. The time taken for recovery depends on the size and number of files being recovered.
Check Recovered Files: Once the recovery process is complete, navigate to the destination folder you selected to check the recovered files.
Ensure that the files are intact and accessible.Done: You have successfully used Recuva to recover deleted files.
Conclusion
Recovering deleted files on Windows is possible with the right approach and tools. By following the steps outlined in this guide and implementing preventive measures, you can safeguard your data and minimize the risk of permanent loss. Remember to act quickly, use reliable recovery methods, and maintain regular backups to ensure the safety of your files in the face of unexpected events.
Also check our article on 20 Tips to enhance your computer’s performance.


